6 Simple Steps to Make Your Project Photo-Ready (And Look Amazing)
Bring Your Vision to Life: How to Make Your Project Photo-Ready
Your work deserves to look as amazing as it truly is. As a builder, architect, or designer, you’ve put your heart and expertise into creating something exceptional. But without the right visuals, potential clients might miss the full impact of your efforts.
Great photos and videos aren’t just for show—they’re essential tools to elevate your brand, attract new clients, and win future projects.
This guide will walk you through
6 simple steps to make your project photo-ready so you can capture every detail beautifully and showcase your work at its very best.
Step 1: Plan the Shoot for Success
Good results start with good planning.
Involve Everyone Early
Client/Owner: Let them know the shoot schedule and any prep they’ll need to do (decluttering, unlocking access).
Photographer/Videographer: Share your priorities, key spaces, and what makes the project special.
Team Members: Assign someone to help on-site during the shoot (moving items, troubleshooting).
Create a Shot List
Think of the spaces and features you’re most proud of:
Hero Rooms: Kitchens, bathrooms, and living spaces.
Signature Details: Custom beams, cabinetry, tile work, or fixtures.
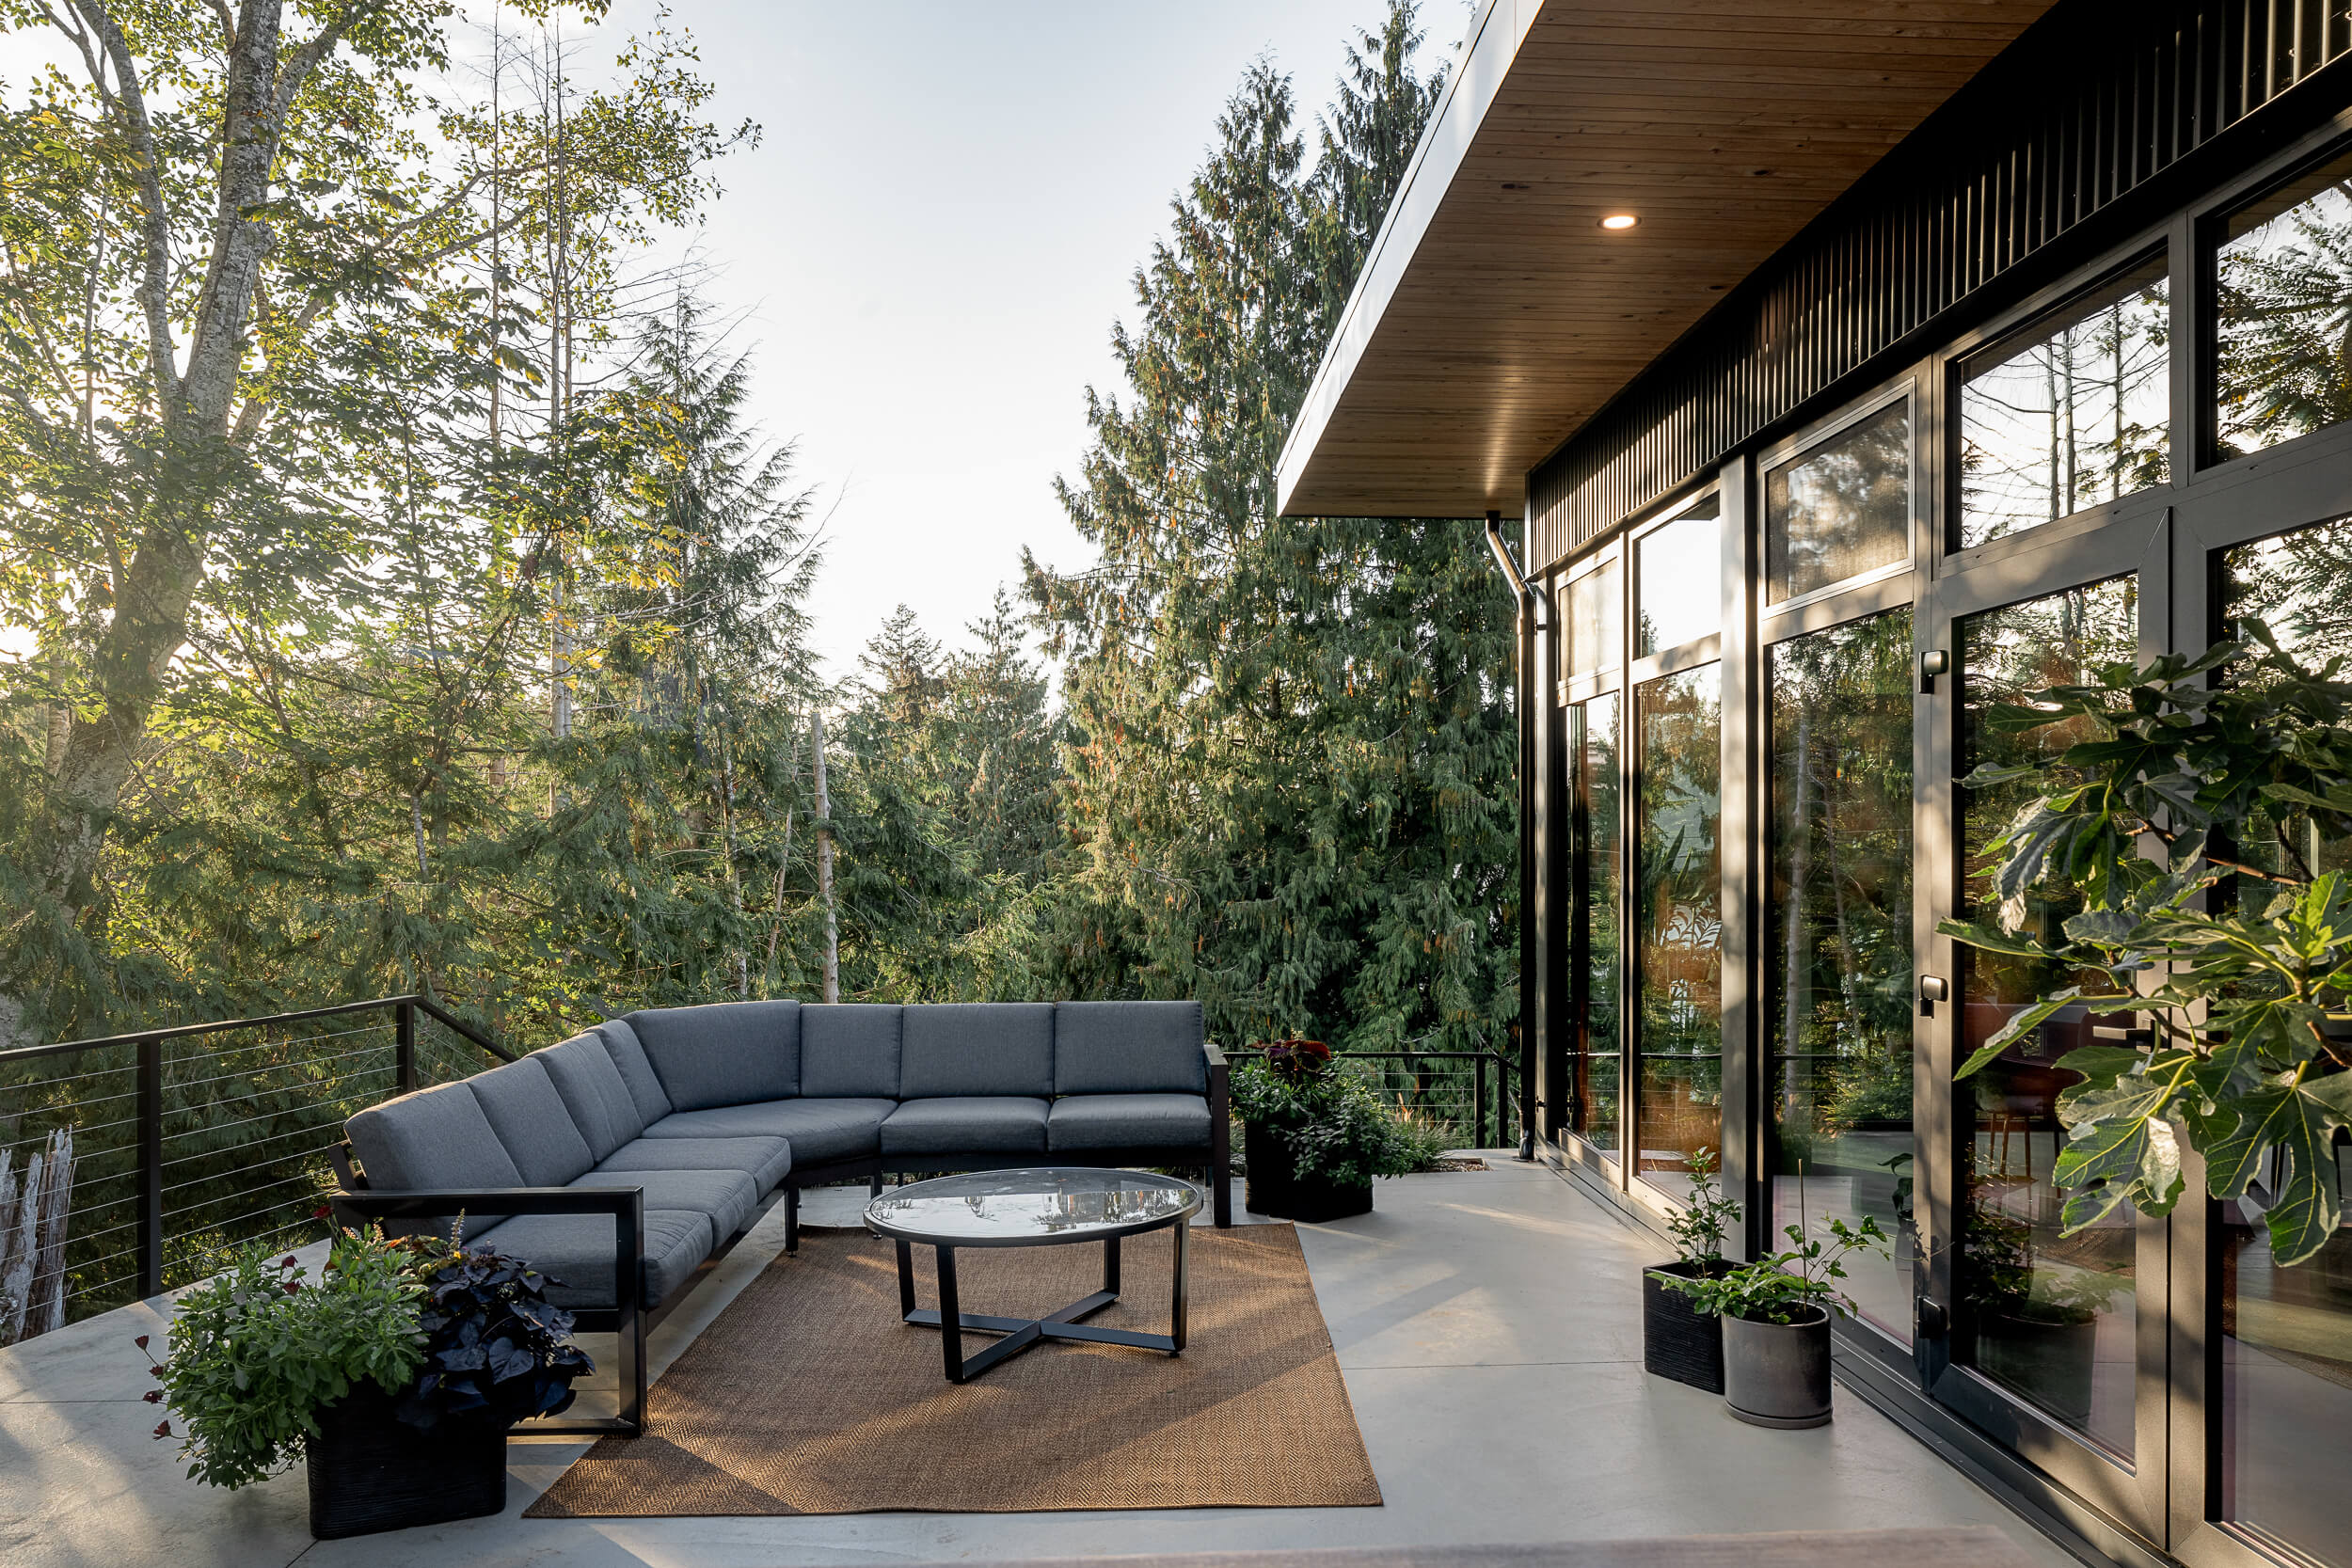
Exteriors: Front entrances, landscaping, patios, and outdoor living spaces.
Pick the Right Time of Day
Golden Hour: Exteriors look best at sunrise or sunset when the light is soft and flattering.
Midday: Interiors glow with bright, natural light.
Twilight: Perfect for capturing outdoor lighting and a moody, dramatic feel.
Get Logistics in Order
Confirm access (keys, codes, gates) so there are no delays.
Set aside at least 3-4 hours—rushing rarely leads to great results.
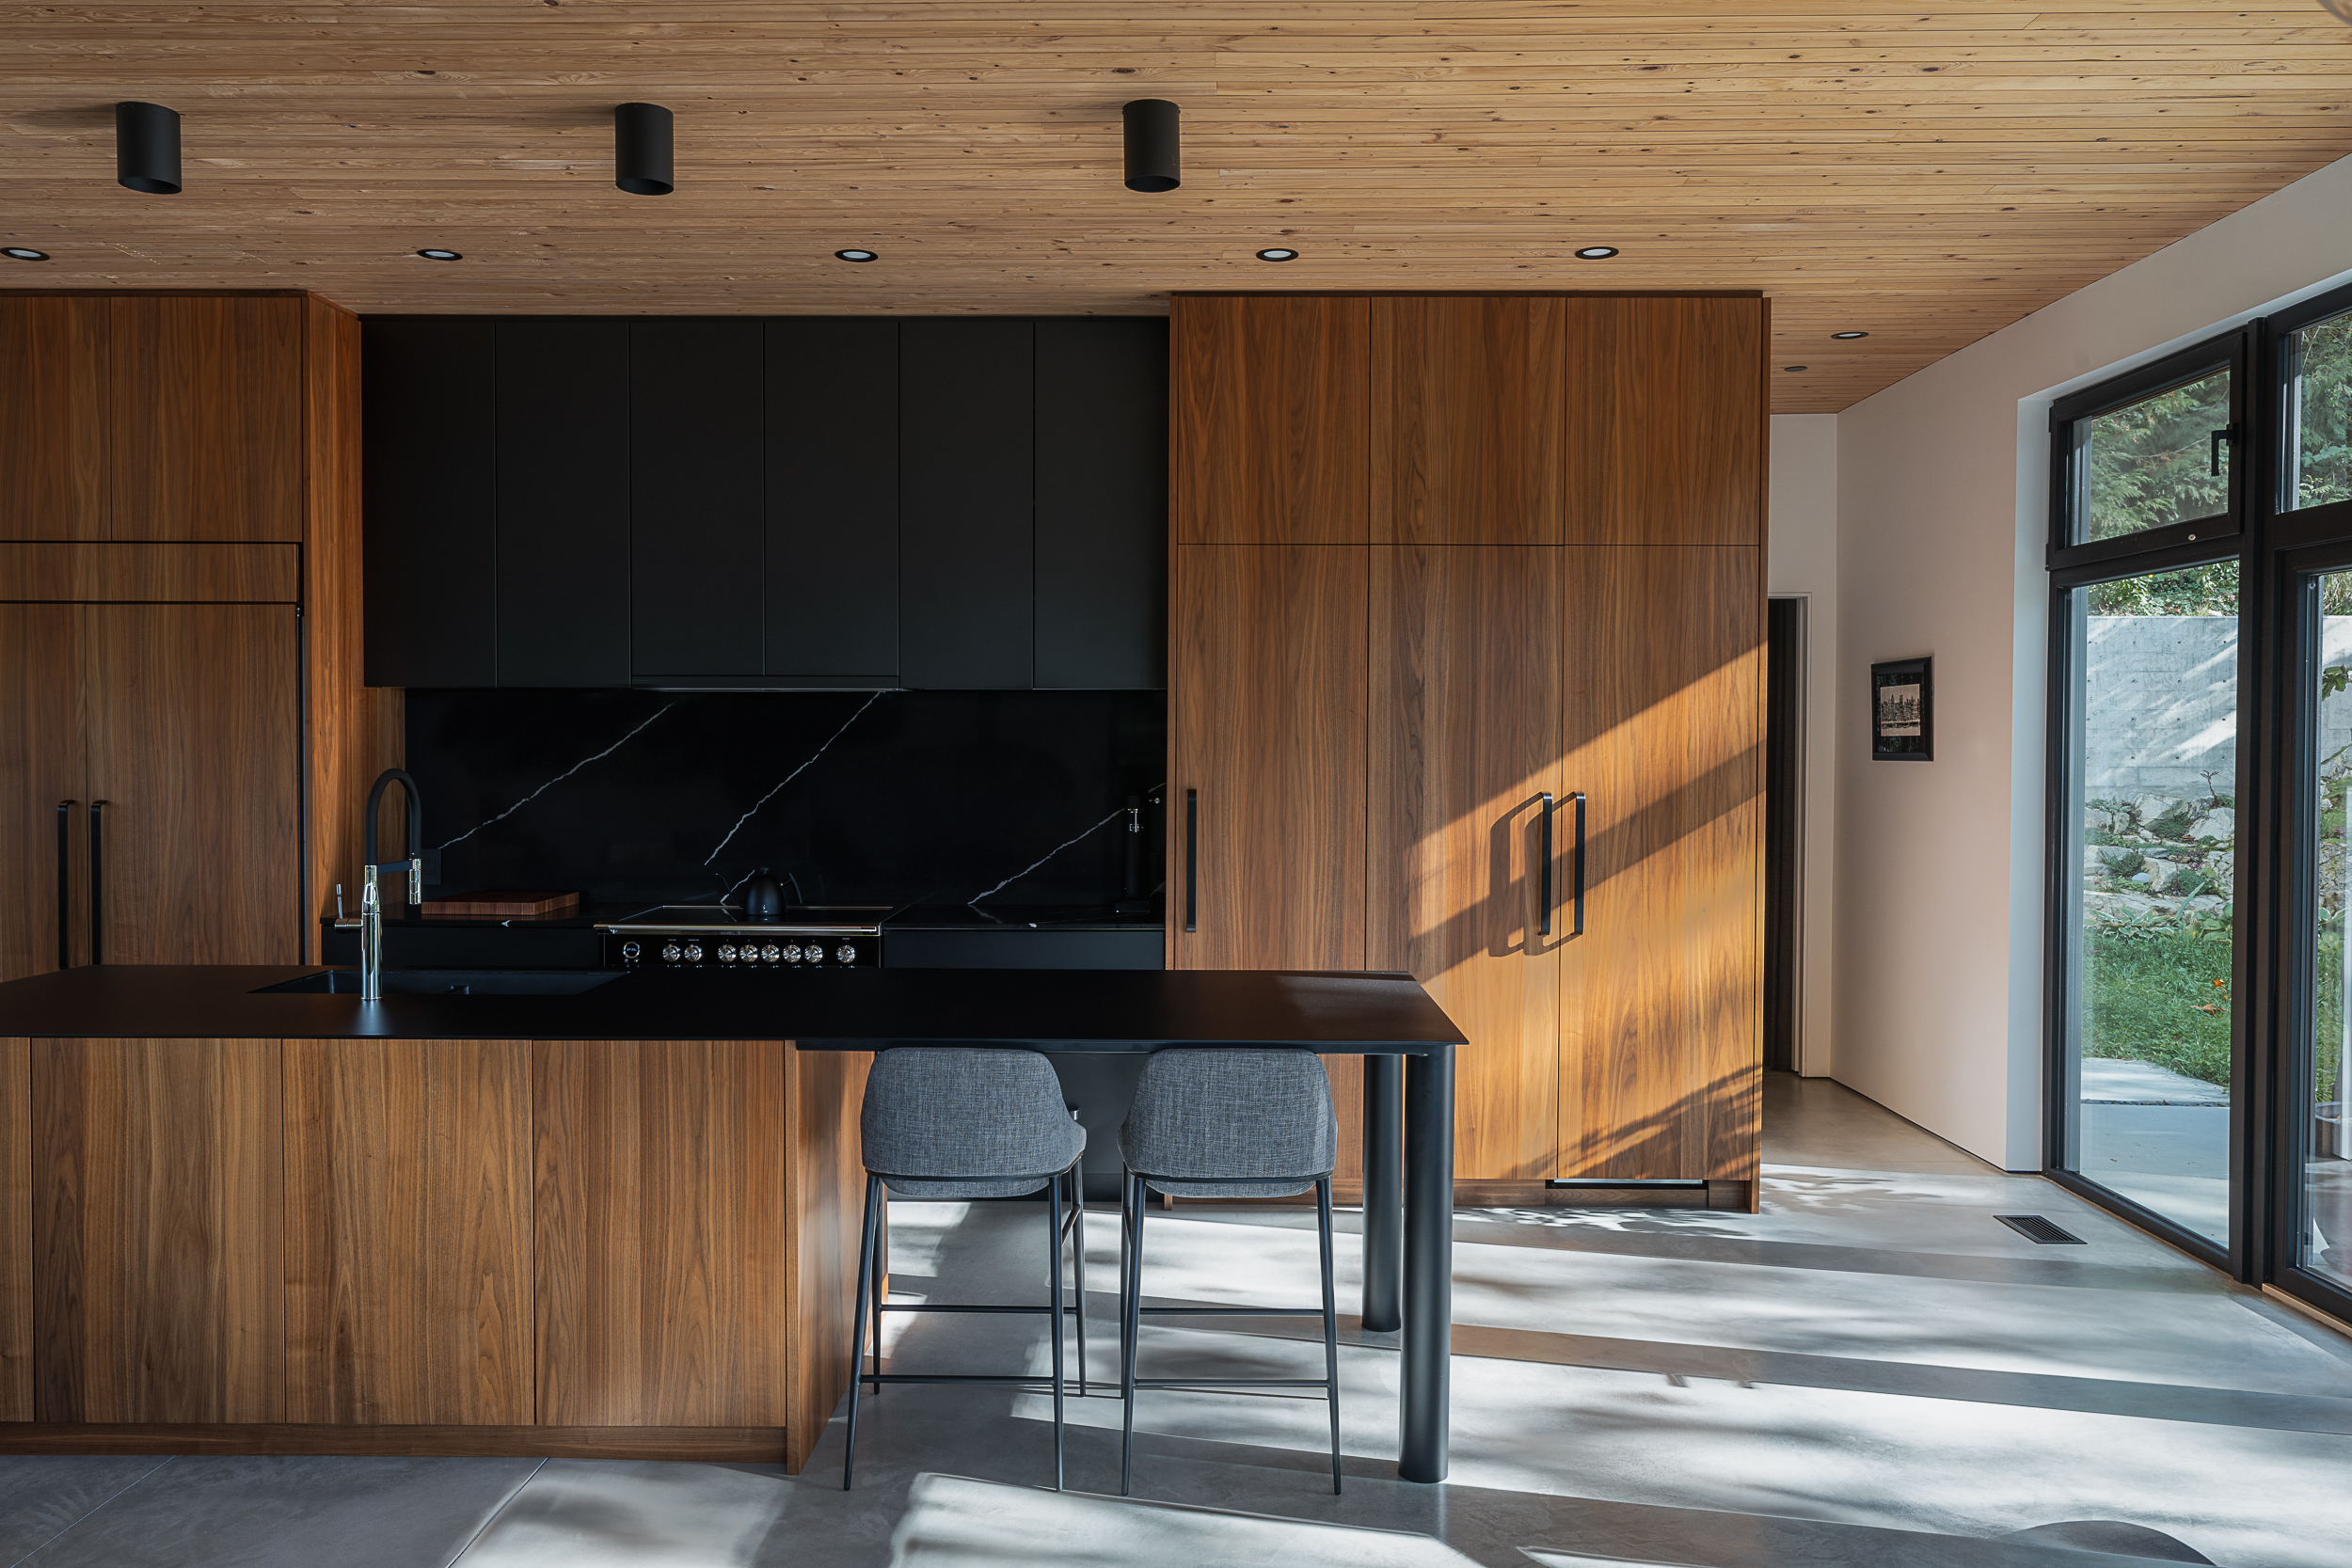
Step 2: Get the Property Ready – Interiors & Exteriors
Your project is the star. Let’s set the stage.
INTERIOR PREP:
Declutter & Deep Clean
Put away tools, wires, and anything distracting.
Clean windows, mirrors, and surfaces until they shine.
Stage Thoughtfully
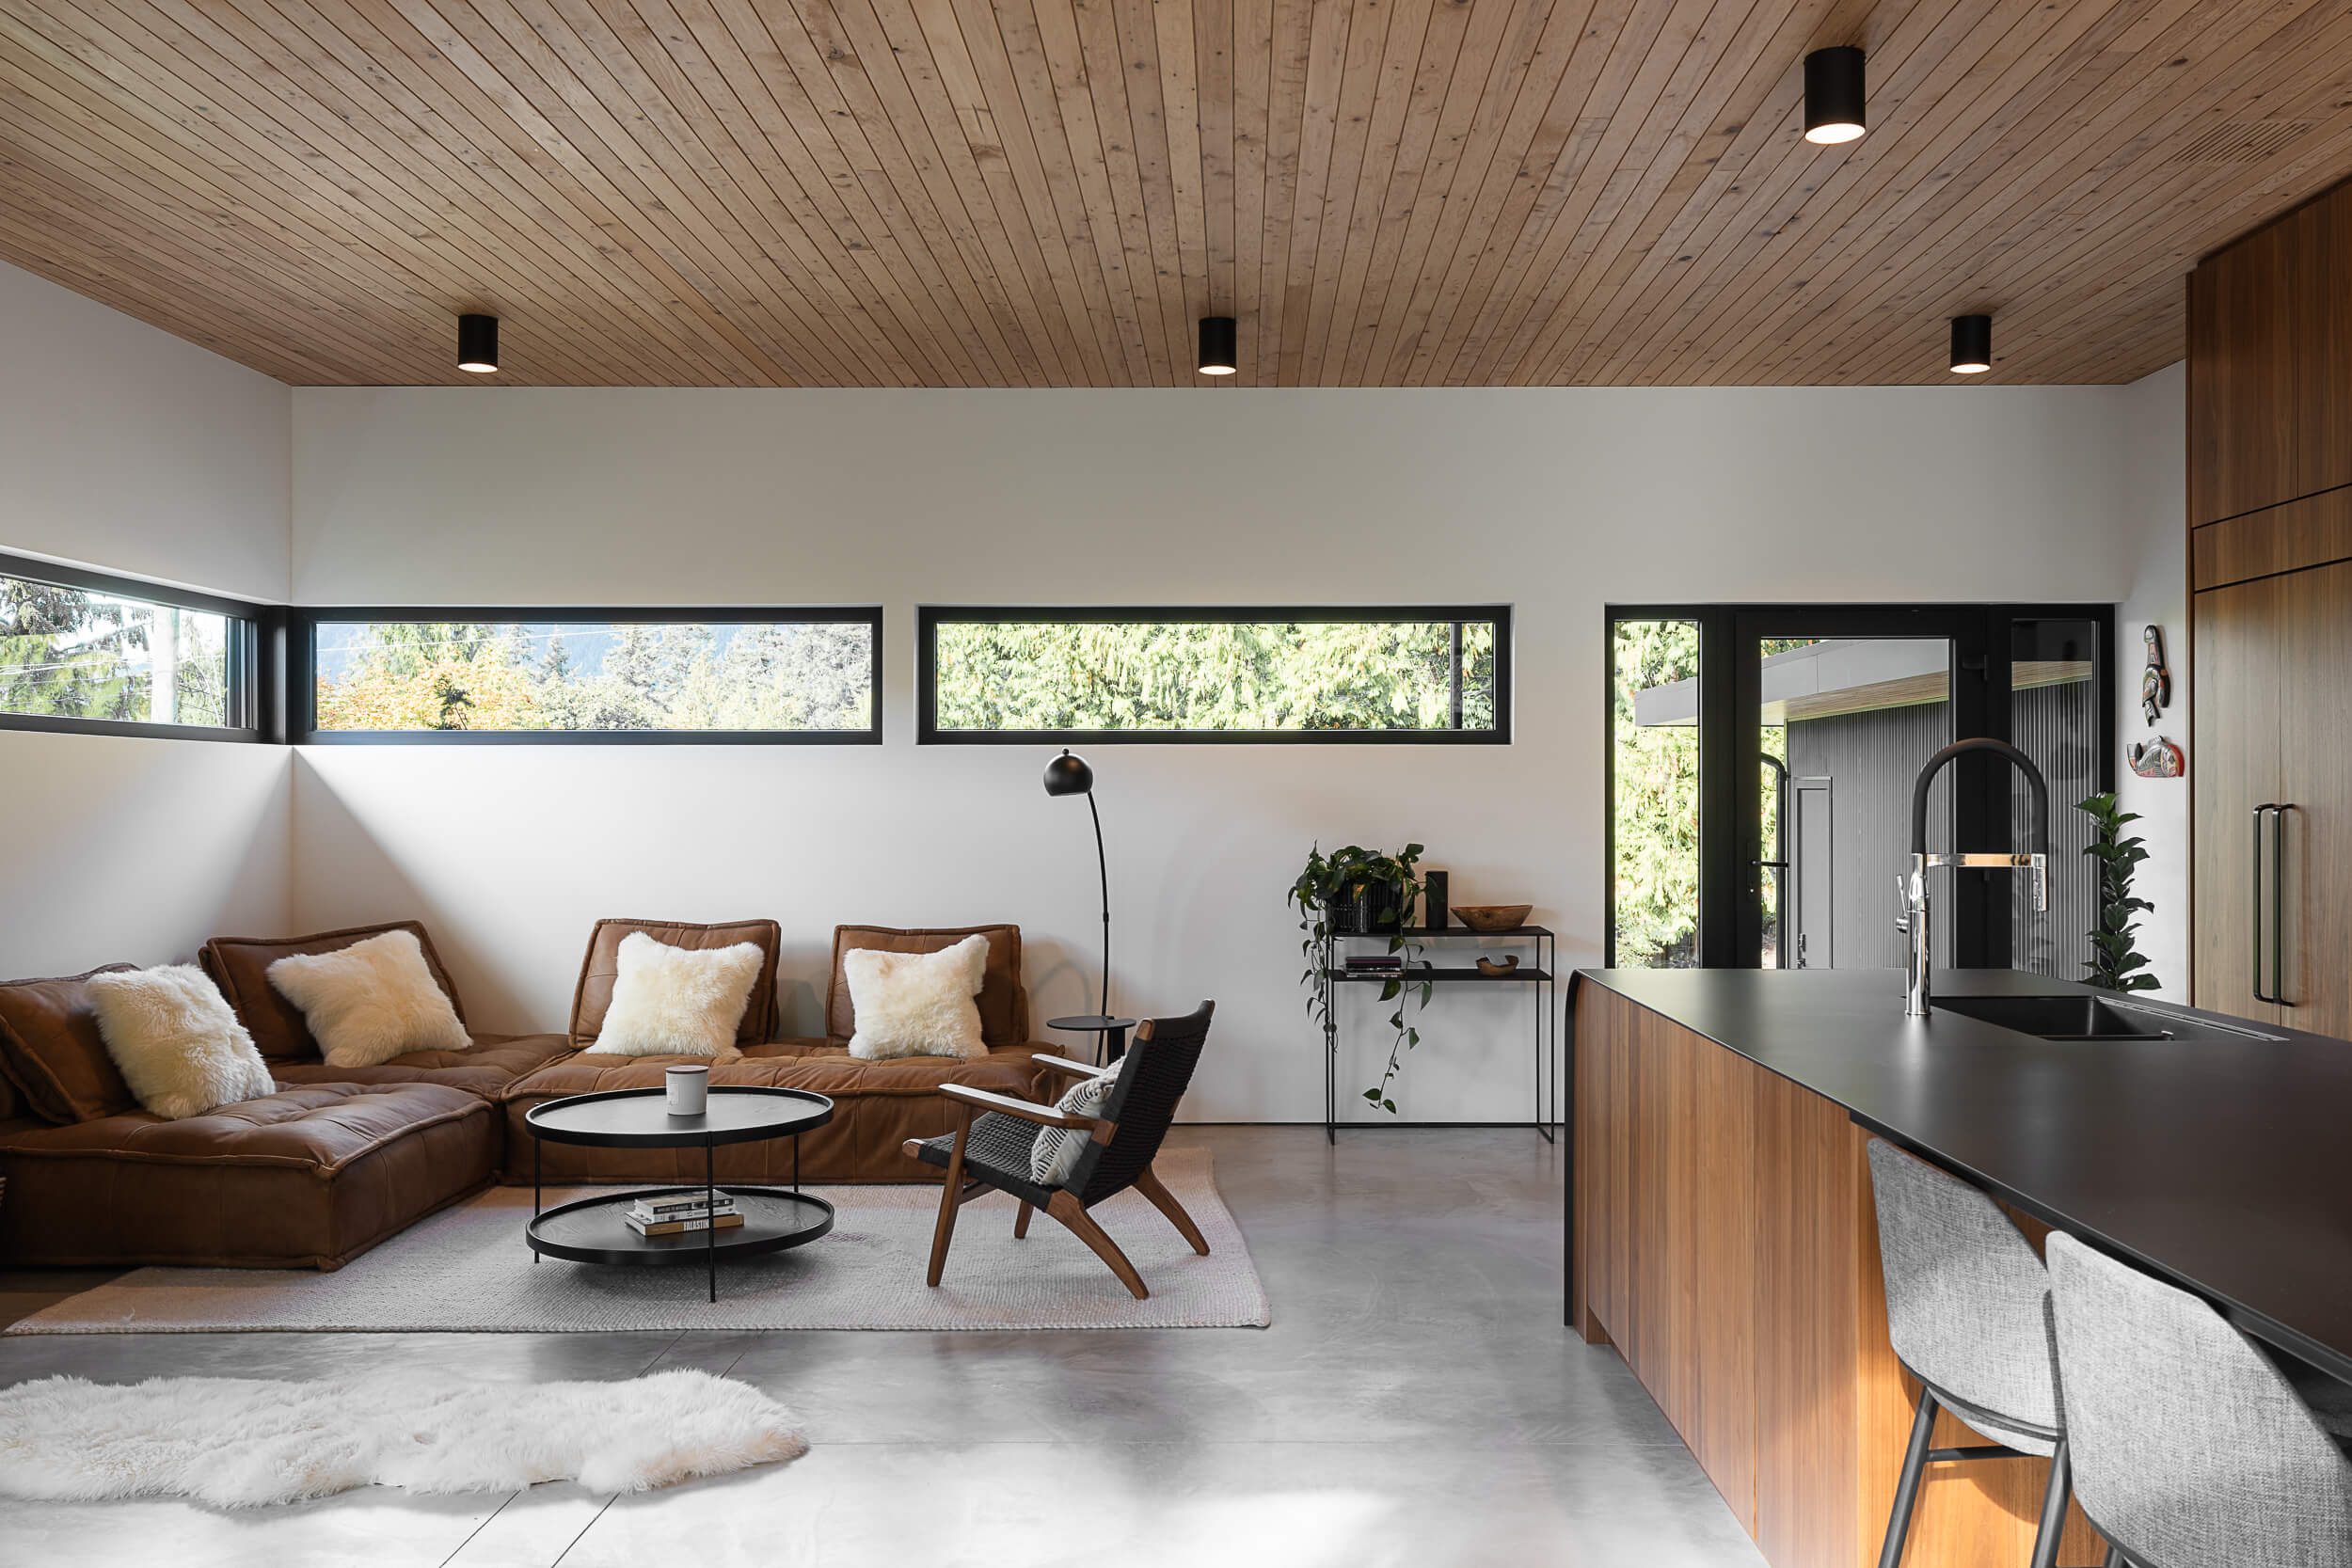
Arrange furniture for flow and balance—think magazine-ready.
Add soft touches: fresh flowers, greenery, pillows, and throws.
Straighten everything: rugs, chairs, bedding, and artwork.
Highlight the Best Details
Make sure custom finishes, built-ins, and light fixtures are clean and ready to stand out.
EXTERIOR PREP:
Clean & Tidy
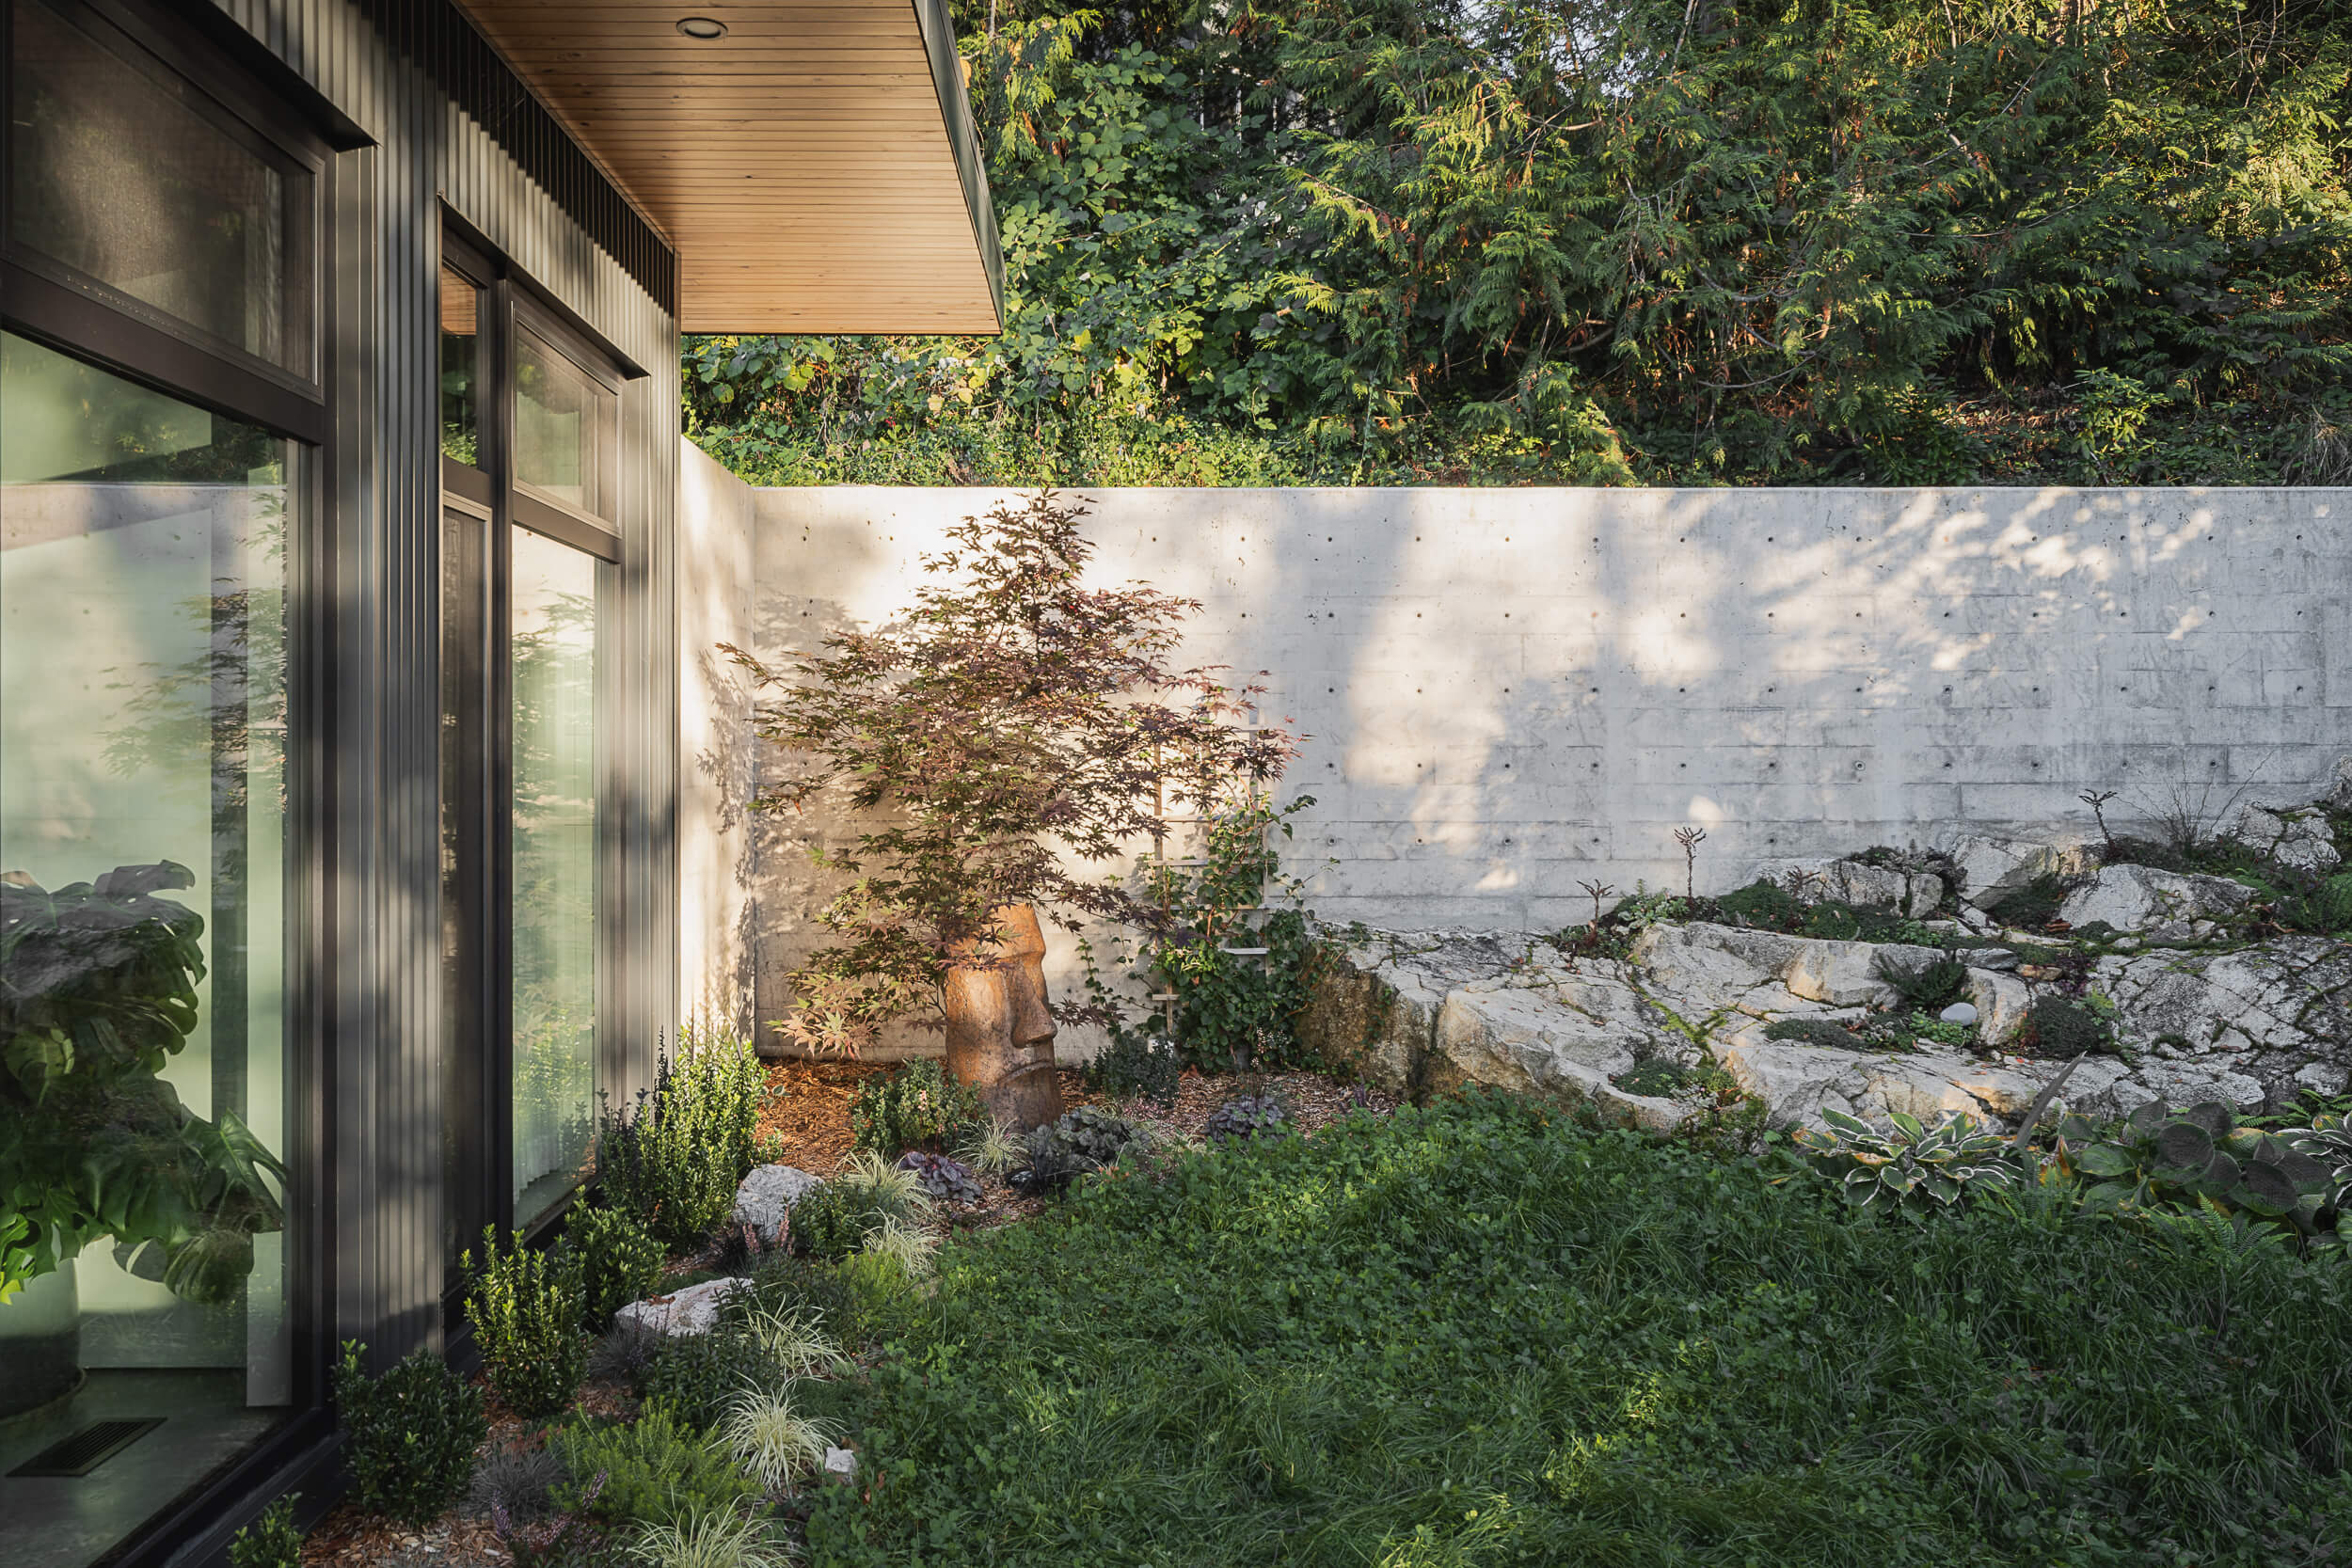
Mow the lawn, trim hedges, and sweep pathways.
Remove cars, trash bins, tools, and hoses.
Add Curb Appeal
Place fresh plants, fluff outdoor cushions, and make landscaping pop.
Drone-Ready
Clear the airspace: no wires, cars, or obstructions that could block drone shots.
Step 3: Collaborate with the Client to Avoid Surprises
Preparation isn’t just about the property—it’s about people, too.
Confirm Access & Availability
Ensure the client or homeowner knows when the team is arriving and which areas will be photographed.
Set Expectations
Ask the client to:
- Remove personal items, family photos, and valuables.
- Keep pets away during the shoot.
- Turn off loud appliances, alarms, and HVAC systems.
Talk About Privacy
Check if there are off-limits areas or items they’d prefer not to be included.
Coordinate Services
Make sure cleaning crews, landscapers, or ongoing trades wrap up before the shoot begins.
Share the Day’s Plan
Walk the client through what to expect so everyone’s comfortable and prepared.
Step 4: Work Hand-in-Hand with the Photographer
You know the project inside out—your photographer knows how to bring it to life.
Do a Pre-Shoot Walkthrough
Show the photographer the spaces and details you want to highlight.
Share the story behind standout features—this helps them capture what makes your work unique.
Stay Flexible
Light changes, weather shifts, and minor adjustments happen. Trust the photographer to adapt and get the best results.
Be Ready to Assist
Have someone on hand to help move decor, fluff pillows, or fix small details as needed.

Step 5: Allow Enough Time – Don’t Rush
Great results take time, and your work deserves nothing less.
Plan for a Realistic Schedule
Allow 3-4 hours for a standard luxury home shoot. Larger projects might need more time.
Focus on Quality Over Quantity
It’s better to capture a few exceptional shots than rush through dozens of average ones.
Take Breaks to Review
Pause occasionally to look over the photos and make sure key details aren’t missed.
Trust the Process
Your photographer will take the time to get it right. Avoid rushing! You’ll thank yourself when you see the final results.
Step 6: Follow Up & Showcase Your Work
Now it’s time to share what you’ve built.
Review & Refine
Look over the images and confirm everything you need was captured.
Discuss any retouching needs for small details (lighting, blemishes, etc.).
Share Your Story
Build a stunning portfolio for your website.
Post on social media (Instagram, LinkedIn, Facebook).
Submit to design awards, publications, or industry showcases.
Impress potential clients with polished visuals during presentations.
Provide Feedback
Have someone on hand to help move decor, fluff pillows, or fix small details as needed.
You’ve spent countless hours creating a masterpiece—don’t let the opportunity to showcase it go to waste. By following these 6 steps, you’ll ensure the shoot day is smooth, stress-free, and delivers visuals that elevate your brand and attract your next big project.
Ready to make your work shine?
Let’s capture every detail beautifully.
Recent Clients



ABOUT
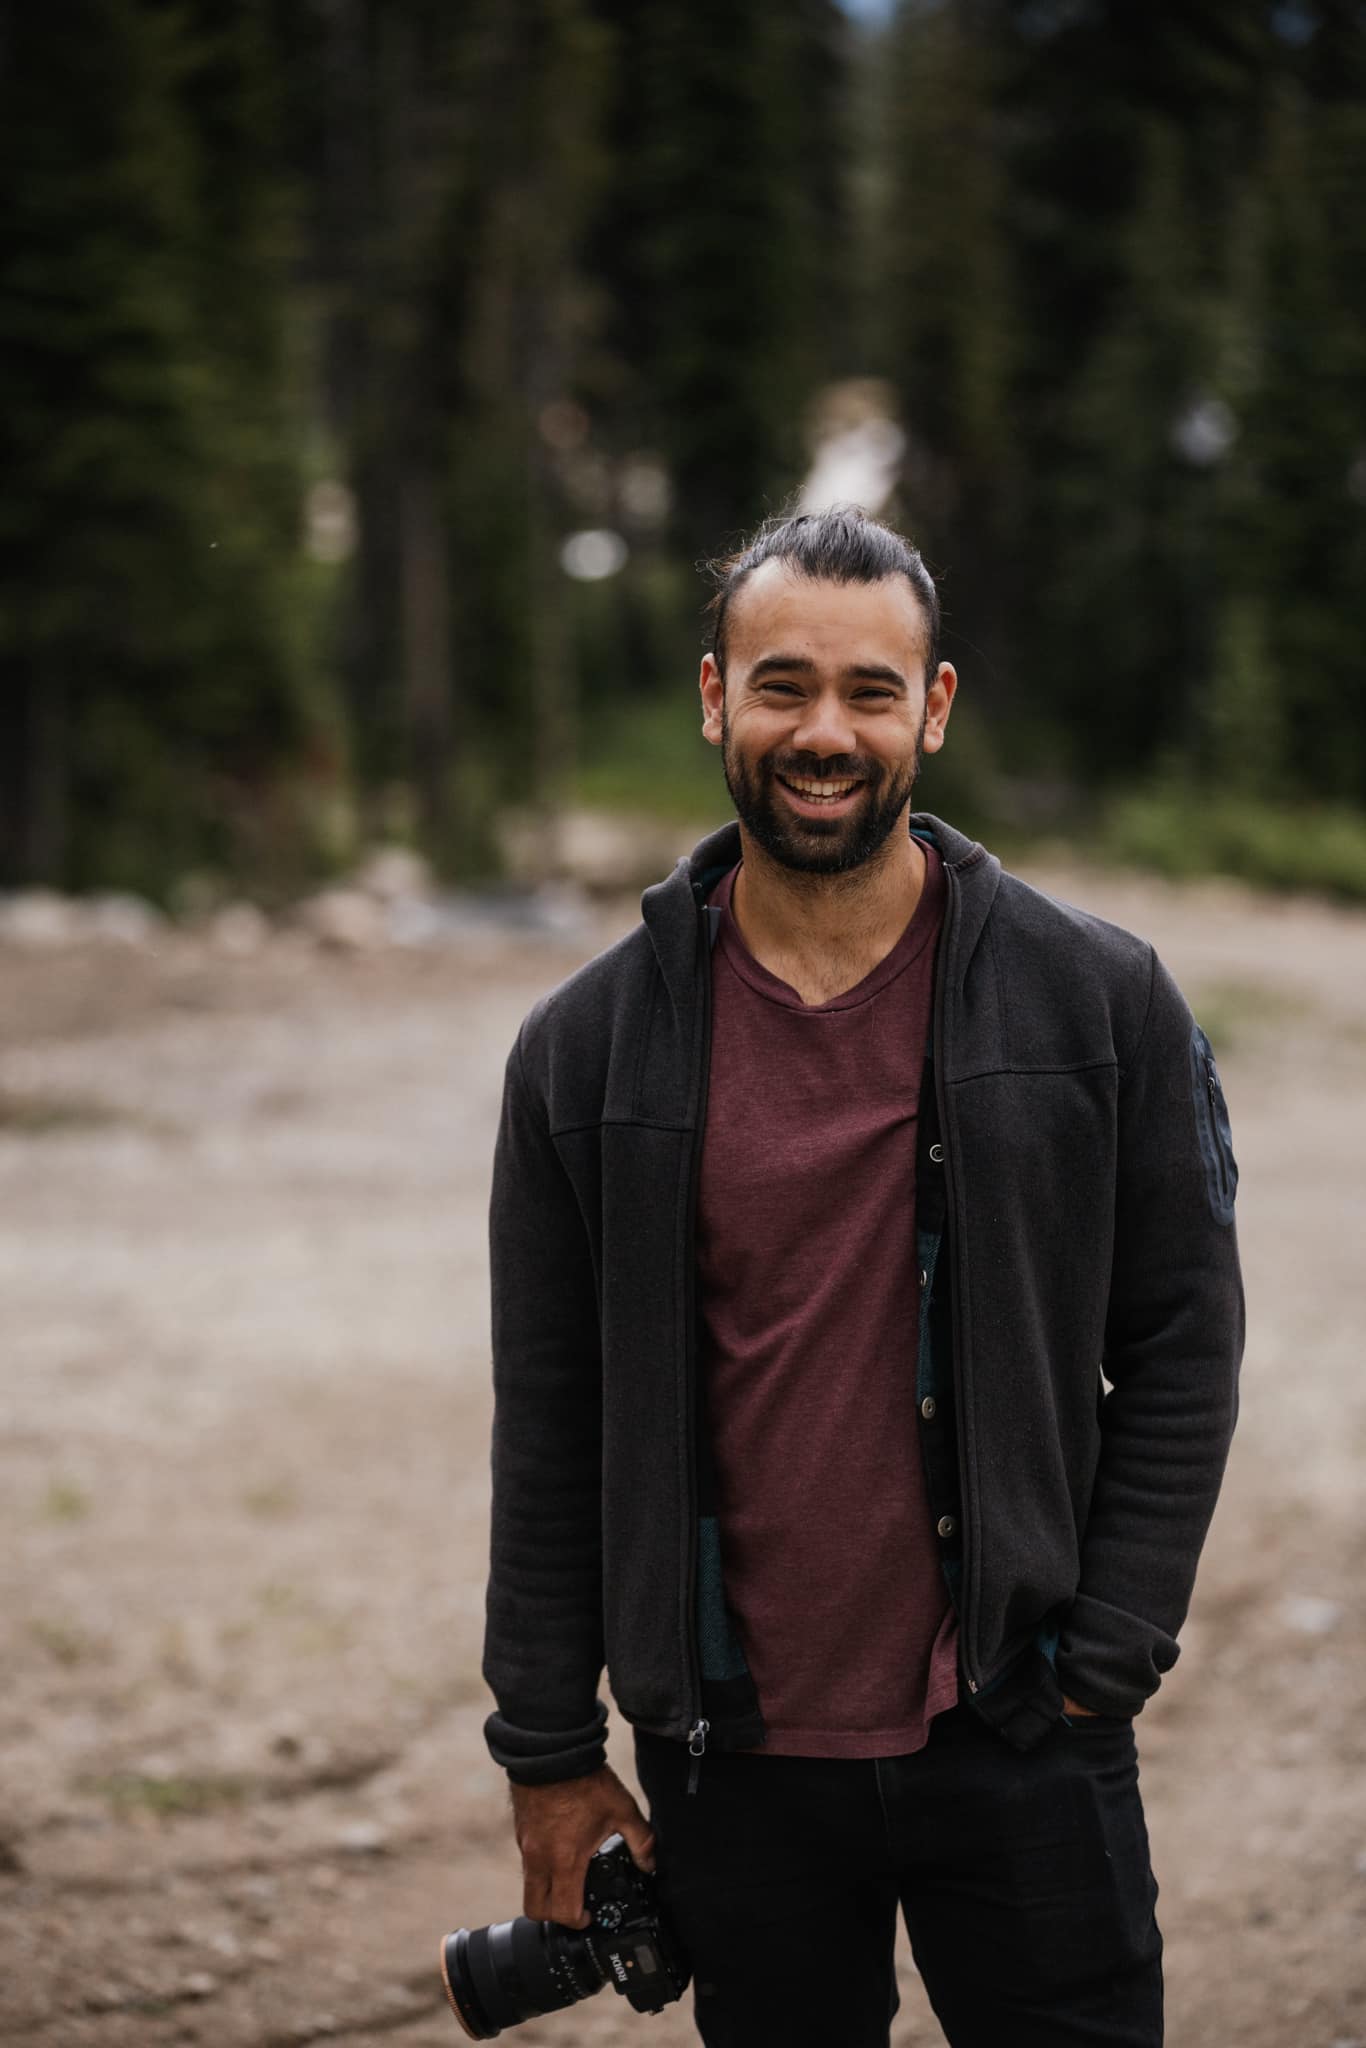
MATT ANTHONY PHOTOGRAPHY
Matt Anthony is a Squamish-based architectural photographer and videographer with a passion for capturing craftsmanship and design.
Known for his collaborative approach, Matt works with architects, builders, and designers to create visuals that elevate their projects and tell their unique stories.
"Matt was a pleasure to work with on our recent architectural project shoots. He was highly responsive and organized pre-shoot, and on-site he worked efficiently with a professional, calm demeanour. His creative eye brought out the best in the design, and he easily adapted to changing conditions. If you need a talented photographer who combines professionalism with artistry, Matt is an excellent choice. Highly recommend!"
- Kyle Paisley, Summerhill Fine Homes
Frequently Asked Questions
What types of projects do you photograph?
I specialize in architectural, interior design, and construction projects, capturing everything from completed builds to progression shoots and team portraits.
How long does a typical shoot take?
It depends on the scope of the project. A standard shoot can take 2-6 hours, while larger projects may require a full day or multiple sessions.
Do you offer retouching and editing services?
Yes! All final images are professionally edited to ensure they highlight the craftsmanship, details, and unique features of your project.
Can you work with us on staging and styling?
Absolutely. I collaborate with you to ensure every space and detail is staged perfectly to align with your vision.
How do I book a shoot?
It’s easy! Just contact me to discuss your project details, and we’ll set up a discovery call to plan your shoot.
